


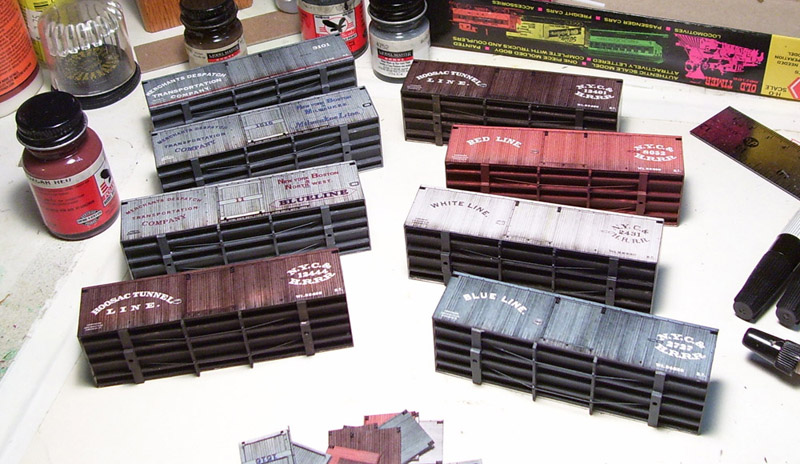
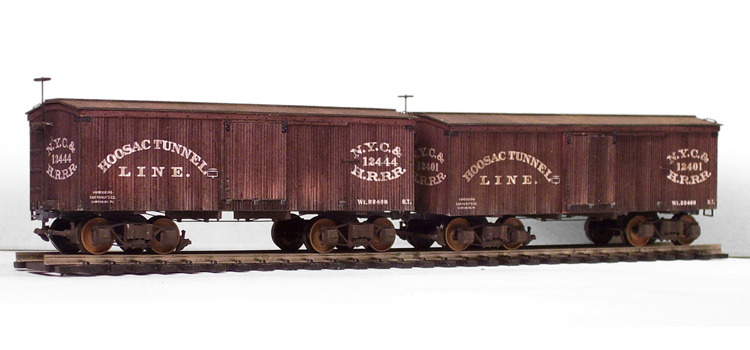

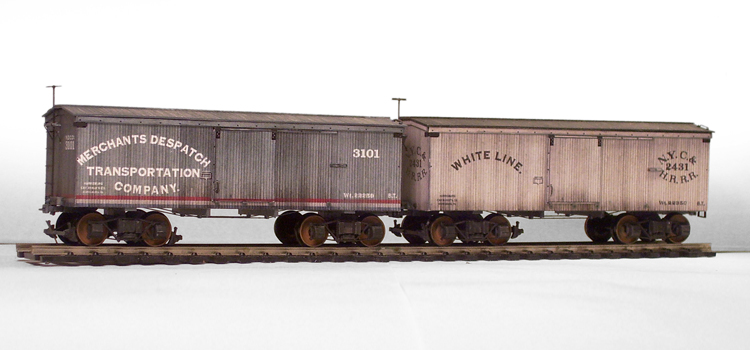
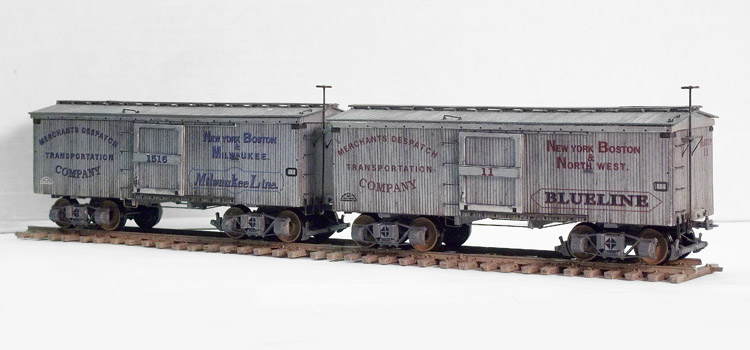
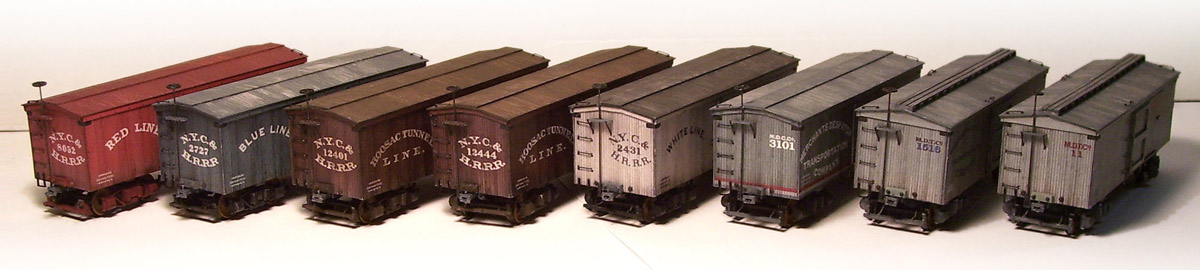


It was easy to find seven variations of the car in the Harrisburg collection, which meant I could use the same base art for all the car sides. All I had to change from car to car was the paint color, the lettering, and the weathering.
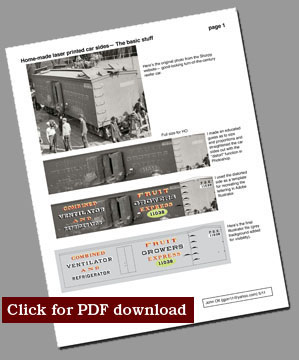
If anyone is interested in finding out how I make the car sides in Illustrator and Photoshop, click on the PDF download at right.
Okay— I cheated. I had the art all made before I decided to pull this marathon. I spent about a week of evenings making and printing out the car sides on my laserprinter. They piled up fast.
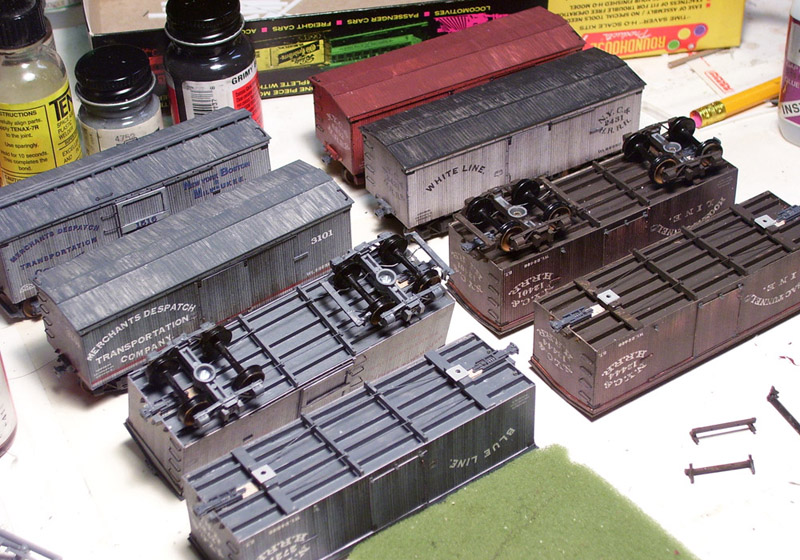
The sides were printed on bond paper. I started the first construction session by spray-gluing them to single-ply artist's board. Sides, ends, and doors were cut out, saving the scraps for the fascia later on. I built the car boxes out of cardstock, gluing on Evergreen styrene scale 4" x 8" stringers for undercar framing.
First job— go over all the edges of all the sides, ends, and doors with similar-colored markers. No white edges.
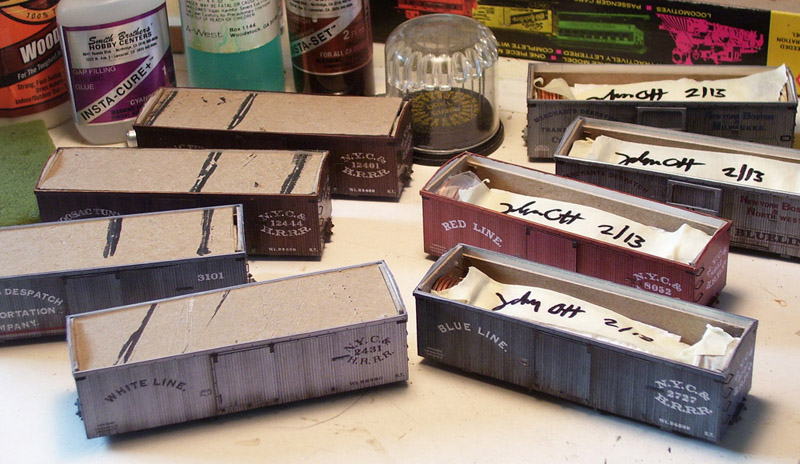
Sides, ends, and doors were glued to the boxes. Fascias were cut, edges were markered, and also glued on. I made needle beams from Evergreen scale 4" x 8" with queenposts cut from Plastruct "U" stock and truss rods made from stretched monofilament fishing line. Bolsters were styrene 4" x 12", doubled and drilled in the center for the truck screw. The undercarriages got painted. I used quick-drying water-based paints.
I always print the grab iron bolt heads onto the car sides so I always know where to drill. I installed Detail Associates 18" grabirons, 8 per car, plus Tichy truss rod bolt ends and styrene dead blocks.
Rather than buy car weights, I just use CA to glue stacks of pennies into each end of the car. I stuff the car with paper toweling (to discourage the pennies from coming loose) and tape it all down before adding an interior cardboard roof to keep the car sides from bowing.
Yes, I sign and date my cars. But only in places where someone would have to destroy the car to find it. It's my railroad. I don't have to be logical about it.
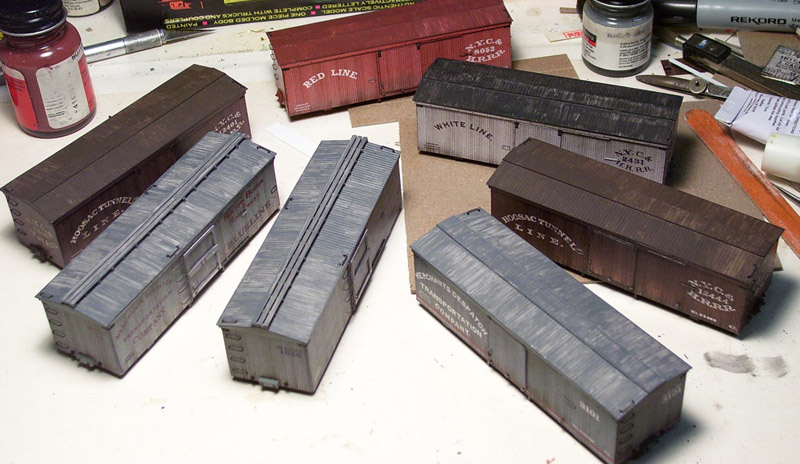
Roofs were cut from Evergreen scribed siding. Two styles of walkway were used with these cars— one with boards mounted crosswise (more scribed siding), and the other with 2" x 6" (styrene) boards mounted lengthwise. Roofs were painted with a streaky brush and grab irons (with their mounting bolts) installed.
Door hardware was finished with scraps of styrene, wire handhold, and Tichy bolt heads. Some doors needed three layers of artists' board— door, door framing, and center board. I printed extra doors for those.
Trucks were Tichy plastic archbars, bought in a 10-pack. With scraps of styrene, I added transom ends, journal box lids, and other details to match the prototypes a little better. One truck per car got outside brake beams— more styrene 4" x 8" stock with the Tichy brake shoe castings that came with the trucks. The brake beams were mounted on the trucks with a pair of soft, bendable wires. Wheels were painted rusty orange. Truck frames were painted to match the car bodies. Washers were needed to raise the cars slightly. I made some out of scrap styrene.
I wanted these cars to be equipped with links and pins instead of knuckle couplers. The best I've found for HO scale are Grandt Line's O scale #72 Gilpin Tram links and pins (See pictures below.) They really work, given sharp tweezers and enough patience, and scale out to be just a few inches larger than the HO prototype.
Lastly, the end of the car with the brakes gets a brake staff (.019 wire), a brake platform and ratchet (Tichy), and a 16" brake wheel (Tichy.) Did I forget anything? Oh yeah— corner steps. Tichy again.
Lined 'em up, snapped a picture, and headed off to bed. Got to go to work in the morning and, whoops!— it's almost morning now.
If you've gotten this far, thanks for sticking with it. Hopefully, this will inspire you to do some more of your own brand of creative carbuilding.
If you like to build resin car kits, Amesville Shops sells this very same car. For decals, see Art Griffin Decals. Art has an indispensible collection of decals for the 19th-century modeler as well as more resin kits.
So much good stuff... so little cash.